Budget Monitors: How to Choose the Right One
Use this rule of thumb: buy a 24-inch 1080p display under $150 or a 27-inch 1440p display near $200, then choose IPS for work or 144Hz-plus for gaming. Miss that match and you pay extra for specs you will not notice, or get blurry text, weak motion handling, and too few ports. This guide maps budget bands to the screen size, panel, refresh rate, and connectivity that actually matter for work, streaming, and casual play.
Start with your setup, not the spec sheet

Pick your main use case first
A monitor for spreadsheets, browser tabs, and video calls should be chosen differently from one meant for fast shooters or console play. Office work benefits most from crisp text, viewing angles that stay consistent when you shift in your chair, and a stand with real height adjustment instead of tilt-only. Gaming puts more value on refresh rate, response behavior, and DisplayPort support.
Mixed use is common. That buyer often gets the fewest compromises from a 24-inch 1080p or 27-inch 1440p screen, because those formats fit a common 24–27 inch, 1080p–1440p range for office work and general use.
Measure desk depth before you choose size
Desk depth decides whether a larger screen feels spacious or awkward. A shallow desk pushes the screen close to your face, which makes oversized panels harder to scan and exposes soft pixel density sooner. A deeper desk gives a 27-inch panel room to breathe.
For budget buyers, 24–27 inches is the main value range because it fits most desks and keeps resolution choices simple. A compact workhorse format also exists at 23.8–24 inches and 1080p, which is why that size stays so common in entry-level work setups.
Say your budget tops out at entry-level models and the monitor will double as both a work screen and a TV in a small room. A 27-inch 1080p panel can look fine from farther back, yet text often looks softer up close. Change only one thing to fix it: either drop to 24-inch 1080p or move to 27-inch 1440p.
Budget for the hidden extras
The cheapest display can stop being cheap once the missing parts show up. A low stand may force an arm purchase. A laptop may need USB-C with power delivery or an adapter. A gaming PC may need DisplayPort to reach the refresh rate you paid for.
VESA mounting is often the escape hatch. Common patterns are 75×75 or 100×100, and either one makes it easier to reclaim desk space and improve posture with an arm if the included stand is poor.
- Choose the main job: work, mixed use, console, PC gaming, or laptop docking.
- Measure desk depth and decide whether 24 inches or 27 inches fits your viewing distance.
- Set the total budget, including cable, adapter, or arm costs.
- Only then compare panel type, resolution, and refresh rate.
How do I choose the right monitor for my budget?
Start by dividing the market into a few budget bands: under $100, $100 to $150, $150 to $250, and $250 to $350. Each band changes what compromise is acceptable. Below $100, protect text clarity and port basics. Near $200, 27-inch 1440p becomes realistic. Above that, demand better ergonomics and cleaner motion.
What matters most below $100
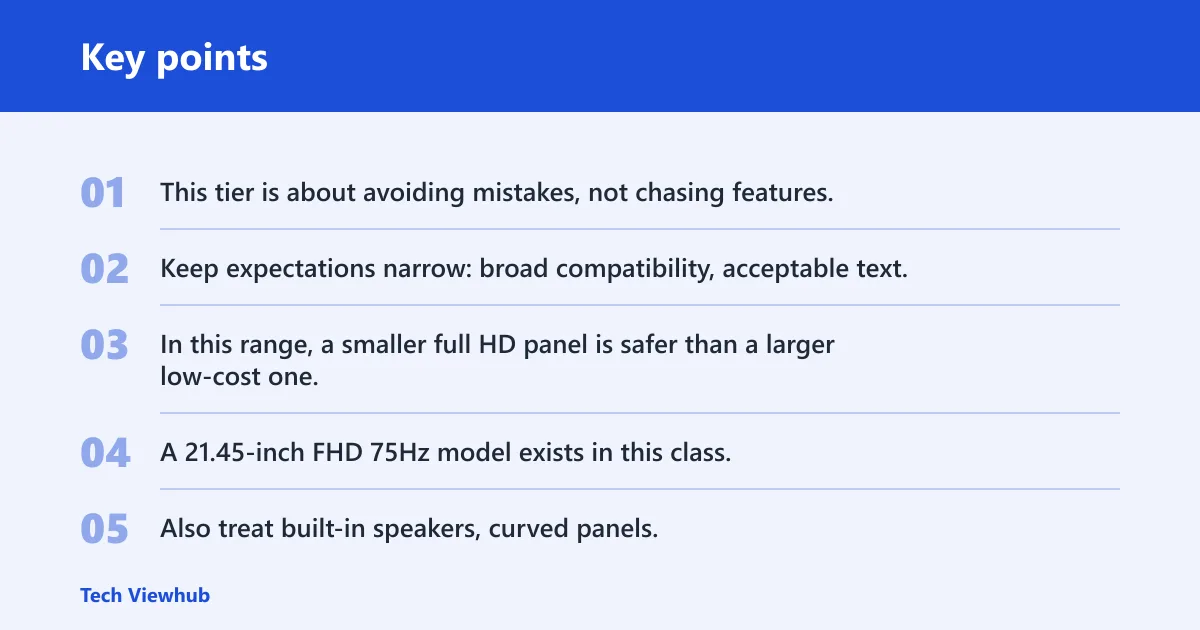
This tier is about avoiding mistakes, not chasing features. A basic 1080p screen is realistic. Keep expectations narrow: broad compatibility, acceptable text, and no obviously bad stand or panel behavior.
In this range, a smaller full HD panel is safer than a larger low-cost one. A 21.45-inch FHD 75Hz model exists in this class, but 23.8–24 inches is often the more comfortable baseline for work because icons and text stay reasonably crisp without scaling drama.
Skip flashy HDR labels here. Also treat built-in speakers, curved panels, and “1ms” claims as low priority compared with a usable stand, HDMI, and decent IPS or a carefully chosen VA panel.
What changes at $100 to $150
This is where budget monitors become easier to recommend. A good 24-inch 1080p IPS with about 75Hz and better ergonomics can appear in this range, and that is enough for many buyers who mainly work, browse, stream, and play lightly.
IPS is described as best overall for color accuracy and wide viewing angles, which matters on a desk where posture shifts through the day. If the panel will be shared or viewed from off-center, IPS usually brings fewer unpleasant surprises than a bargain VA.
Where $150 to $250 becomes the value sweet spot
This band is the easiest place to buy well. For many tasks, 27 inches at 1440p is the sweet spot, because it adds a visible jump in text sharpness without demanding the price premium or scaling complexity of entry 4K.
It is also the range where mixed-use buying gets simpler. You can target IPS for office and streaming, or a higher-refresh option for gaming. Many buyers who want one screen for work and casual play should start here, not below.
If the day is split between spreadsheets, browser tabs, and evening games, a 27-inch 1440p IPS at about 120Hz to 165Hz often fits that job better than a cheaper 27-inch 1080p panel, because the extra sharpness helps during work while the higher refresh can make scrolling, desktop movement, and games look smoother.
What $250 to $350 should buy without waste
This budget should buy a real step up, not a pile of labels. Expect a stand with height and swivel, more useful ports such as DisplayPort plus USB-C on some models, and either 1440p gaming performance up to 165Hz or a sharper entry 4K panel for work. A 27-inch 165Hz QHD IPS monitor with about 1ms response time sits in this class, but the full package still matters more than the headline numbers.
At this level, USB-C with power delivery starts to matter for laptop setups. The guide describes that as a simplifying feature, and it can replace a charger cable on the desk. If that port is missing, price in the dock or adapter the monitor will force you to buy.
What to look for in a budget editing monitor
If you’re trying to keep costs down, the supporting guide explains which monitor specs actually improve video editing and which ones are easy to ignore. The short version: a 27-inch IPS panel at 1440p is often the sweet spot, because it gives you enough screen space for timelines and a sharper image for checking detail, while decent sRGB coverage and color support help your footage look more consistent from project to project. It also walks through when 4K is worth the jump, and when it simply stretches a tight budget too far.
Just as important, the article shows how to avoid common budget traps like oversaturated panels, poor stands, and features that sound impressive but do little for editing. For a focused breakdown, see budget monitor guide.
A practical budget-monitor rule for MacBooks
The safest budget choice for most MacBook users is a 27-inch 4K USB-C monitor, or a 24-inch 1440p model if you sit closer to the screen. That combination usually gives sharp text without forcing awkward scaling or extra adapters, which matters more on macOS than flashy specs. If you pick the wrong size or resolution, the display can look fuzzy and feel frustrating for everyday work.
For a simple decision path, see budget monitor guide. It explains which low-cost monitor setups make sense for MacBook Air and MacBook Pro users, what features are actually worth paying for, and what to avoid when you want clean text and easy connectivity on a budget.
What size and resolution make sense together?
Size and resolution should be matched, not chosen separately. Entry 4K makes more sense once the budget, desk depth, and scaling tolerance are all there.

24-inch 1080p: the safe low-cost baseline
For everyday use, 24 inches with 1080p stays the simplest budget answer. It fits smaller desks, keeps system demands light, and usually avoids the “soft text on a big panel” problem that shows up on low-cost 27-inch 1080p models.
At the lower end of that range, the format is easy to drive, easy to place, and usually easy to buy.
Why 27-inch 1080p can look soft for text
A larger panel spreads the same pixel count over more surface area. That can make letters and fine UI elements look less crisp, especially at close viewing distances on shallow desks. For movies and casual console use, some buyers accept that. For documents all day, many do not.
A common first-timer mistake is buying 27-inch 1080p because the size sounds like an upgrade. The desk stays the same, the viewing distance stays the same, and the only thing that changes is softer text.
27-inch 1440p: the sharpness jump many buyers notice
The work-from-home guidance identifies 27 inches at 1440p as the sweet spot for many tasks. That pairing often gives the clearest improvement per dollar for mixed work and play, especially if you spend long hours reading text.
It also leaves room for higher refresh. If your PC can feed it, a 120Hz, 144Hz, or 165Hz 1440p panel gives a smoother desktop feel and a better gaming experience without jumping into costly 4K territory.
When entry 4K is worth it and when it is not
For sharper text and imagery, the guide suggests 27–32 inches with 4K resolution. The work-from-home article also identifies 27–32 inches at 4K/UHD as a crisp editor’s canvas. That makes sense for dense text, photo review, and detailed productivity work.
But 4K has tradeoffs. It asks more from the computer, can require scaling adjustments, and usually costs more than the average budget buyer should spend. If the choice is between a weak 4K monitor and a solid 1440p monitor with a good stand and ports, the stronger 1440p option is often the smarter buy.
Which panel type should you buy: IPS, VA, or TN?
IPS is the safest all-around buy for most budget shoppers, VA can be better for contrast-heavy media use, and TN is a narrow speed-first option. The right choice depends on whether you care more about text and viewing angles, darker-room movie contrast, or the lowest response behavior for competitive play.
IPS for office work, general use, and color consistency
IPS is described as best overall for color accuracy and wide viewing angles. That matters for office work, remote meetings, web use, and any setup where the screen is not viewed from one rigid position all day.
IPS also makes mixed-use buying easier. It is usually the least risky choice when the same monitor will handle documents, streaming, and light gaming.
VA for contrast, movie watching, and darker rooms
VA is described as having higher native contrast and deeper blacks. If your room is dim and you care more about movie scenes, darker games, and black depth than perfect off-axis consistency, VA can be a good value.
The tradeoff is motion behavior and viewing-angle consistency. Some low-cost VA panels show black smearing in dark motion, and side viewing can look more washed out than on IPS.
TN as a narrow speed-first option
TN is described as having the fastest response times with lower cost. That still gives it a role, but the role is narrow: buyers who care mainly about speed and can tolerate weaker color and viewing angles.
For general home use, TN is harder to recommend now because better-balanced IPS options are easier to find. In budget gaming, though, a speed-first buyer may still accept TN compromises for motion.
Failure cases to watch
Do not treat panel labels as guarantees. A cheap IPS can have visible glow. A cheap VA can smear dark objects in motion. A cheap TN can look washed out unless viewed straight on.
The practical rule is simple: buy IPS first for work and mixed use, consider VA if darker-room media use matters more, and leave TN for edge cases where speed outranks image quality.
How much refresh rate and response time do you really need?
For office work and basic use, 60Hz or 75Hz is enough. For most budget gaming setups, 120Hz to 165Hz is the range to target. Higher numbers matter less than buyers expect if the panel smears, overshoots, or lacks the right port to actually run at that refresh.
60Hz and 75Hz for office work and basic use
If the monitor is for email, documents, classes, and streaming, 60Hz or 75Hz is enough. Higher refresh can feel smoother in cursor movement and scrolling, but it should not outrank resolution, stand quality, or panel choice on a limited budget.
120Hz to 165Hz for most budget gaming setups
The guide names 120Hz, 144Hz, and 240Hz as gaming refresh rates. In practical budget buying, 120Hz to 165Hz is where most gamers should focus. That range usually gives the visible smoothness upgrade people actually notice without sending the price too high.
DisplayPort matters here on many PCs, because some monitors reserve higher refresh support for that connection. On consoles, HDMI support matters more. Check the actual port mix before assuming the rated refresh is available on every device.
240Hz and above: who should care
240Hz and above is for narrower needs. It is more relevant to players chasing very high frame rates in competitive games than to office users, streamers, or mixed-use buyers. If the budget is tight, that money is often better spent on sharper resolution or a better stand.
Why response-time claims need context
Response time affects motion clarity and lower is better for ghosting. That part is true. The catch is that advertised figures are often best-case modes that can add overshoot, bright trails, or ugly inverse ghosting if overdrive is pushed too hard.
A listed 1ms figure is not useless, but it is not enough on its own. Treat it as a clue that the monitor targets fast motion, then check whether the rest of the package makes sense for your use case.
What features are worth paying for on a cheap monitor?
Spend first on the features you touch every day: a height-adjustable stand, the right ports, and VESA mounting if the included stand is weak. Extras such as speakers, KVM switching, or HDR badges matter far less unless they solve a specific setup problem.
Height adjustment, tilt, swivel, and pivot
A height-adjustable stand helps long-term comfort and reduces neck strain. That matters more than many budget lists admit. Tilt is the minimum. Height adjustment is the best upgrade. Swivel helps shared desks. Pivot matters if you read long documents or code in portrait mode.
If the screen sits too low, you compensate with posture. That is a bad trade to save a small amount up front.
HDMI, DisplayPort, and USB-C with power delivery
HDMI is the safe baseline because it works with most devices. DisplayPort matters on many desktop PCs, especially when refresh rate is part of the buying goal. USB-C with power delivery is worth paying for if the monitor will support a laptop day to day.
The guide calls USB-C with power delivery a simplifying feature for laptop setups, and that is accurate. One cable for display and charging can clean up a desk quickly. Without it, laptop users may need a dock, hub, or charger running beside the monitor.
VESA mounting and arm compatibility
VESA support is easy to ignore until the stand disappoints. Common mounting patterns are 75×75 or 100×100. Either one keeps the monitor useful later, even if the bundled stand is poor.
Picture a low-cost screen with a fixed-height stand on a high desk. The panel is fine, but the chin sits too low and neck strain starts fast. If VESA is missing, the only fix may be a stack of books or a replacement monitor.
Speakers, KVM, and other extras
Built-in speakers are convenient, but many are weak enough that they should not drive the purchase. KVM can be genuinely useful if one keyboard and mouse need to switch between a laptop and desktop, though that feature is still uncommon at the low end.
What specs are mostly marketing at the low end?
On cheap monitors, the most overrated claims are HDR badges, wide-color labels without calibration data, and response-time numbers quoted without overdrive context. These specs can matter, but only when the supporting details are there. Without those details, they often distract from stand quality, text clarity, and ports.
HDR badges without brightness or local dimming
HDR on budget monitors is often more label than experience. Without meaningful brightness and local dimming, the image may not look much more dynamic than standard SDR content. Treat HDR as a bonus only after the core buying choices are right.
Wide color claims without useful calibration data
For general work, sRGB coverage matters most. Wider DCI-P3 or Adobe RGB claims matter only if your workflow needs them. Even then, factory calibration and Delta E references say more about expected accuracy than colorful marketing language on the box.
If you edit standard web graphics, a solid sRGB-focused monitor is usually the better use of money. Paying extra for wide gamut without control can make routine content look off.
Advertised 1ms figures that hide overshoot
Manufacturers often list very low response times in the most aggressive settings. Those modes can reduce one problem and create another by introducing bright halos or inverse trails. A more moderate overdrive mode is often the cleaner real-world choice.
Contrast and brightness numbers that need skepticism
Contrast ratings in particular can be presented in ways that do not predict what dark scenes will actually look like. Panel type tells the story more reliably at this end of the market: IPS usually for consistency, VA for stronger native contrast, TN for speed-first tradeoffs.
Monitor choice decision table
| Budget band | Best size | Ideal resolution | Panel type | Refresh rate | Must-have ports | Stand requirement | Red-flag tradeoffs to avoid |
|---|---|---|---|---|---|---|---|
| $70–$100 | 23.8–24 inches | 1080p | IPS preferred, VA only if ports and stand are acceptable | 60Hz or 75Hz | At least 1 HDMI; audio out helps if speakers are absent | Tilt minimum; VESA support strongly preferred | 27-inch 1080p for close desk use, fixed non-VESA stand, HDR badge, missing cable or adapter needs |
| $100–$150 | 24 inches | 1080p | IPS | 75Hz; 100Hz if priced close | HDMI plus DisplayPort if possible | Height adjustment preferred; tilt required | Weak stand, no DisplayPort on a gaming-targeted model, VA with obvious smear risk, “1ms” as the main selling point |
| $150–$250 | 27 inches | 1440p/QHD | IPS for mixed use; VA if contrast-heavy media use matters more | 75Hz to 165Hz depending on use | HDMI and DisplayPort; USB-C is a bonus for laptops | Height adjustment and VESA should be expected | 27-inch 1080p sold as a value upgrade, poor overdrive tuning, no VESA on a low stand, extra adapter cost ignored |
| $250–$350 | 27 inches; 27–32 inches if buying 4K for productivity | 1440p/QHD or entry 4K/UHD | IPS for most buyers | 120Hz to 165Hz for gaming, 60Hz if prioritizing 4K work | HDMI, DisplayPort, USB-C with power delivery for laptop setups | Height, tilt, swivel, and VESA expected; pivot desirable for work | Paying extra for low-end HDR, 4K with weak scaling comfort, poor USB-C power support, premium price with entry-level stand |
Frequently asked questions
What size monitor is best for everyday use?
For most budget buyers, 24–27 inches is the right range.
Is IPS better than VA for a budget monitor?
Usually yes for office work, browsing, and mixed use, because IPS is described as best overall for color accuracy and wide viewing angles. VA can still be the better value if darker-room movie watching and deeper blacks matter more than off-axis consistency.
Do I need 1440p or is 1080p enough on a cheap monitor?
At 27 inches, 1440p is the better fit for text clarity and long work sessions. Cheap 27-inch 1080p screens often save money by giving up sharpness you will notice.
What refresh rate should I look for in a budget monitor?
Choose 60Hz or 75Hz for work and basic home use. Choose 120Hz to 165Hz for most budget gaming setups. Only chase 240Hz and above if competitive gaming is the main purpose and the PC can actually deliver the frame rates to match.
What ports should a budget monitor have?
HDMI is the minimum for broad compatibility. DisplayPort matters for many desktop PCs and higher refresh support. USB-C with power delivery is worth paying for if the monitor will anchor a laptop desk, because it can reduce charger and dock clutter.
What matters most when buying a cheap monitor without getting burned?
Match size to resolution first, then check stand quality, ports, and VESA support before chasing extras. The most common bad buys are 27-inch 1080p screens on shallow desks, gaming models without the right port, and cheap stands that force an arm purchase right away.