
What Is a Good Budget Monitor for a MacBook?
A good budget monitor for a MacBook is usually a 27-inch 4K USB-C model, or a 24-inch 1440p model if you sit close. Buy the cheapest one that still gives sharp text at your desk distance. Pick the wrong size or resolution and text turns fuzzy, scaling gets awkward, and you may need extra adapters. This guide shows the budget decision tree for pixel density, USB-C input, and the best low-cost picks for MacBook Air and MacBook Pro.
This guide is part of our Budget monitors: how to choose the right one series.
Top budget pick for MacBook buyers
A common default is a 27-inch 4K IPS monitor with USB-C and enough power delivery for a MacBook. That mix gives clean text, one-cable use, and the right balance of size and sharpness for macOS scaling. Some review guides name different top picks, including the BenQ MA320U, the Dell 27 Plus 4K S2725QS as a value option, and the Philips 27E3U7903 as a best-overall option.
Why this is the default MacBook value choice
For many MacBook buyers, 4K at 27 inches is often a budget sweet spot because it keeps text crisp without pushing into 5K pricing. macOS handles 3840 x 2160 well at this size, and the 27-inch format is large enough for split windows without feeling oversized on a normal desk. USB-C is the easiest connection path because it can carry video and charging over one cable, but not every USB-C monitor supplies enough wattage for every MacBook model.
Who should skip it and move up a tier?
If the monitor sits farther back on a deep desk, or if the work is color-sensitive photo or design work, the cheapest 4K option may feel limited. That is when better calibration, stronger USB-C power delivery, or a move to 5K starts to matter. Apple’s Studio Display remains excellent, but it sits well above budget territory.
Quick picks by budget tier
| Budget tier | Best fit | Minimum acceptable resolution | Ideal size | USB-C power delivery target | Main tradeoff |
|---|---|---|---|---|---|
| Under $100 | Basic office or school use | 1440p if possible; 1080p only as the lowest compromise | 24 inches | Often no USB-C charging | Weak text clarity, especially at 27 inches |
| $100–$200 | Best low-budget sweet spot | 1440p | 24 to 27 inches | USB-C with modest charging if available | Good value, but not Retina-like |
| $200–$350 | Sharper text and easier macOS scaling | 4K | 27 inches | USB-C with useful charging output | Cost rises, but daily readability improves a lot |
| $350+ | 5K or Thunderbolt docking | 5K | 27 inches | Thunderbolt 3 or Thunderbolt 4 with stronger power delivery | Higher cost than 4K |
Under $100: the bare-minimum path
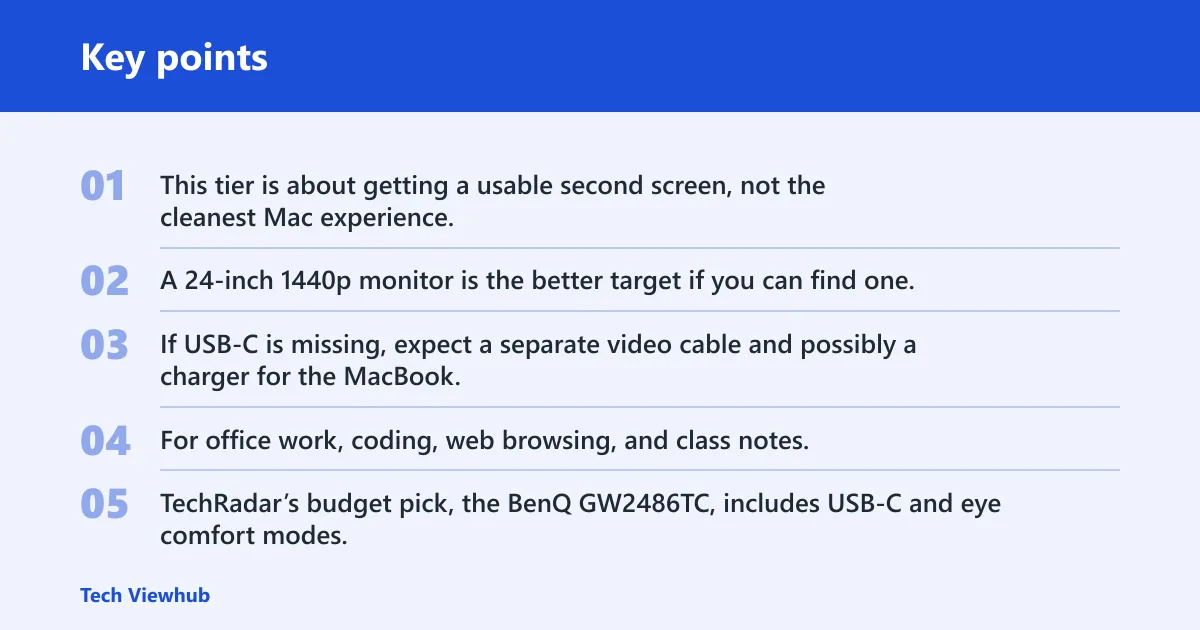
This tier is about getting a usable second screen, not the cleanest Mac experience. A 24-inch 1440p monitor is the better target if you can find one, because 1080p at 27 inches looks soft on macOS. If USB-C is missing, expect a separate video cable and possibly a charger for the MacBook.
$100 to $200: the safest low-budget sweet spot
For office work, coding, web browsing, and class notes, this is often the least risky budget tier. TechRadar’s budget pick, the BenQ GW2486TC, includes USB-C and eye comfort modes, which makes it a practical low-cost option for MacBook buyers who want a cleaner one-cable setup without moving to a high-resolution panel.
$200 to $350: the best value for sharper text
This is where 4K becomes practical for many people. A 27-inch 4K IPS panel gives much better text sharpness than 1440p, and macOS scaling looks more natural because the pixel density is high enough to avoid obvious softness. Back Market also lists a 4K Asus 27-inch monitor with IPS panel specs and near-full AdobeRGB coverage, which points to this tier’s value for users who need more than basic office display quality.
$350 and up: when 5K or Thunderbolt starts to make sense
At this level, 5K becomes the Retina-like choice. TechRadar describes the Philips 27E3U7903 as a 5K display, and mac&egg notes that 4K, 5K, and even 6K monitors are options for Mac users while also saying 4K remains a very good alternative for everyday use. Thunderbolt 3 or Thunderbolt 4 is worth the extra cost only if you want docking-style single-cable use with stronger power delivery.
What is a good budget monitor for a MacBook?
A good budget monitor for a MacBook is the cheapest model that still gives sharp text, decent macOS scaling, and useful USB-C power delivery. For most buyers, that means 27-inch 4K, or 24-inch to 27-inch 1440p if the budget is tighter. The goal is not maximum features. It is avoiding blur, awkward scaling, and extra cables.
The shortest answer for MacBook Air and Pro owners
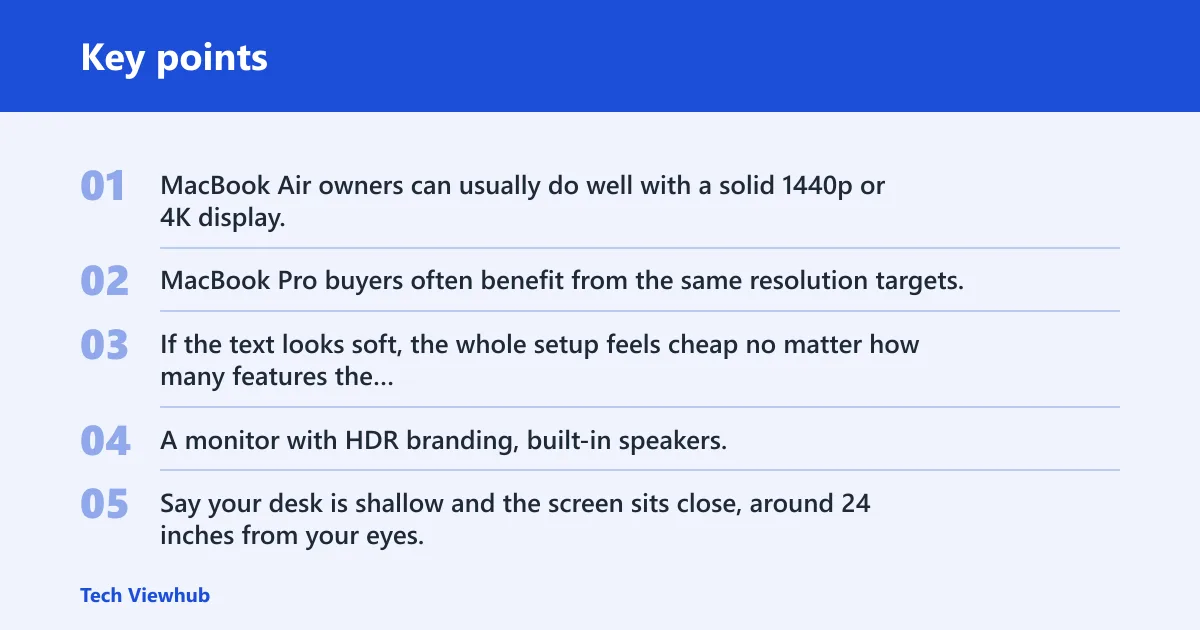
MacBook Air owners can usually do well with a solid 1440p or 4K display, depending on desk distance and budget. MacBook Pro buyers often benefit from the same resolution targets, but they may care more about stronger USB-C charging, color accuracy, and better docking if the laptop stays connected most of the day.
Why sharp text matters more than extras
macOS rewards pixel density. If the text looks soft, the whole setup feels cheap no matter how many features the monitor lists. A monitor with HDR branding, built-in speakers, or a high refresh rate does little for a budget MacBook buyer if the panel is dim, poorly calibrated, or mismatched to the desk distance.
Say your desk is shallow and the screen sits close, around 24 inches from your eyes. A 24-inch 1440p panel can look more comfortable than a larger low-resolution model because the text stays readable without forcing awkward scaling. The same desk with a 27-inch 1080p screen usually feels fuzzy by comparison.
What size monitor is best for a MacBook on a budget?
27 inches is the main MacBook pairing because it gives enough space for side-by-side windows without demanding a huge desk. A 24-inch display is fine when you sit close or want a smaller, cheaper screen. A 32-inch panel makes sense when you sit farther back, but that size usually needs 4K to stay crisp.
Why 27 inches is the main MacBook pairing
At 27 inches, 4K hits a practical balance between size and clarity. It is large enough for spreadsheets, code, and two windows at once, yet it still sits comfortably on most desks. That is why so many Mac-focused guides land on 27-inch 4K as the default recommendation.
When 24 inches is fine
Choose 24 inches if the monitor sits close, the budget is tight, or the desk is small. At that size, 1440p is often the best compromise, and it can feel sharper than a bigger low-resolution panel. It is especially reasonable for school work, email, and light office tasks.
When 32 inches makes more sense
Go to 32 inches only if the desk distance is farther or the goal is more screen area. At that point, 4K becomes much more important because lower resolutions can look coarse. iMore names the Philips 32E1N3600LA as its best budget MacBook Air monitor, and iMore says it is QHD instead of 4K, which shows how this size can work when the buyer accepts that tradeoff.
Do you need a USB-C monitor for your MacBook?
You do not need USB-C, but it is the easiest setup for most MacBooks because it can carry video and charging over one cable. The catch is power delivery. Some monitors charge a MacBook slowly, and some do not provide enough wattage for larger models under load, so the port label matters as much as the connector type.
Single-cable video and charging
USB-C matters because it cuts cable clutter. One cable can handle the display signal and charging, which makes desk use simpler and travel setups easier to pack. That convenience is especially useful for MacBook Air owners and anyone who docks and undocks every day.
Power delivery targets to check
Check the wattage listed on the monitor, not just the presence of USB-C. Entry-level models may charge slowly, while more capable monitors can deliver enough power for normal use. If the monitor’s power output is too low, the MacBook may charge slowly, pause charging under load, or still need the charger plugged in.
When Thunderbolt is worth the extra cost
Thunderbolt 3 and Thunderbolt 4 are useful when you want macOS-friendly docking, faster accessory support, and a more complete single-cable desk setup. They are not required for a budget purchase. iMore says the Philips 27B1U7903 includes Thunderbolt 4 upstream data, video, and power delivery, which is the sort of feature set that helps once the budget opens up.
MacBook monitor features that matter
The key features are resolution, panel type, USB-C power delivery, and color quality. 4K is the default target for most buyers, 5K is the premium macOS option, and 1440p is the sensible compromise when the budget is tighter. After that, the panel and calibration decide whether the screen feels pleasant or merely compatible.
4K, 5K, and QHD for macOS scaling
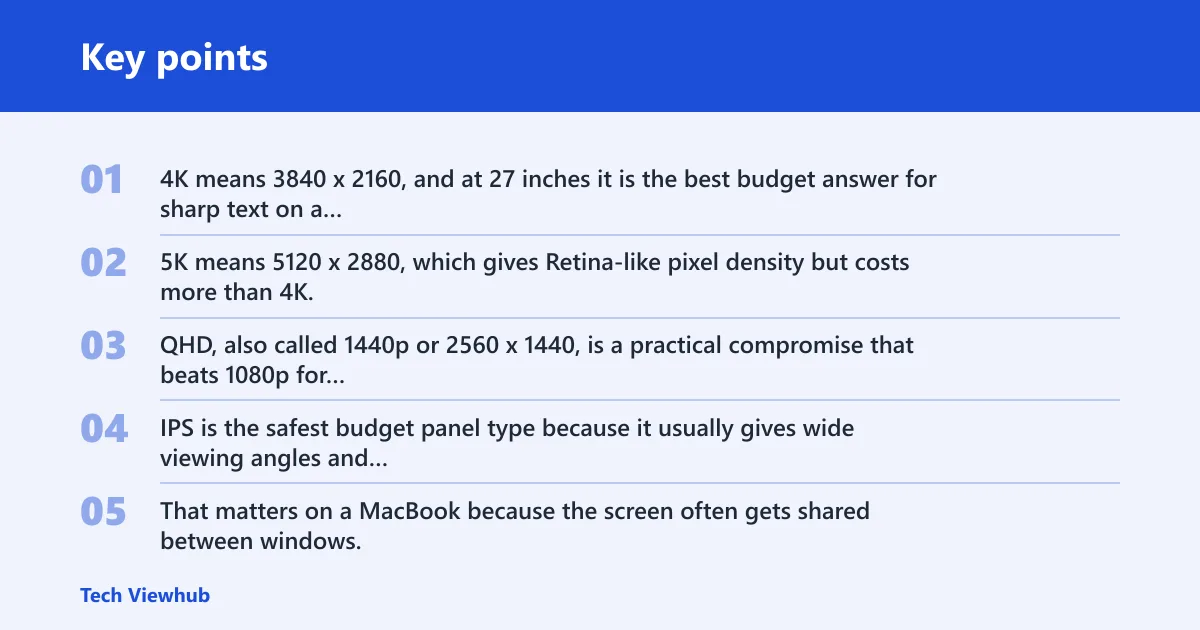
5K means 5120 x 2880, which gives Retina-like pixel density but costs more than 4K. QHD, also called 1440p or 2560 x 1440, is a practical compromise that beats 1080p for Mac text clarity but is not as sharp as 4K.
IPS panels and viewing angles
IPS is the safest budget panel type because it usually gives wide viewing angles and steadier color consistency than cheaper alternatives. That matters on a MacBook because the screen often gets shared between windows, not just centered perfectly. A cheap IPS panel is often a better bet than a fancier-sounding panel type with weak color stability.
Color accuracy for creative work
For photo, design, and video work, color accuracy is not optional. sRGB coverage is the basic floor, while AdobeRGB matters more for stricter creative work. Calman verification is a useful sign that the display’s color claims were checked, though it does not replace a full professional calibration workflow.
Suppose a 27-inch monitor looks fine for documents but the photo thumbnails appear flat and skin tones shift from one app to another. That is a color-consistency problem, not a MacBook problem. A panel with better factory calibration, or at least verified sRGB performance, is the more sensible purchase than a brighter but poorly tuned screen.
Why HDR and speakers should stay secondary
DisplayHDR is about HDR brightness tiers and contrast highlights, but it is not essential for budget buyers. Many low-cost monitors cannot sustain meaningful HDR brightness anyway. Speakers are usually weak on monitors, so they should not drive the buying decision unless the monitor will be used only for casual system sounds.
What should you avoid when buying a cheap monitor for a MacBook?
Avoid 1080p at 27 inches, weak USB-C power delivery, poor stand adjustment, and dim or poorly calibrated panels. Those are the common failure cases that turn a cheap monitor into a regret purchase. If the screen is too low in resolution, too underpowered, or hard to position, it will feel wrong with macOS no matter how low the sticker price is.
- Skip 1080p at 27 inches unless it is the absolute lowest-end compromise.
- Check USB-C wattage, not just USB-C presence.
- Prefer IPS over mystery panel types for wide viewing angles.
- Look for decent stand adjustment if the desk height is fixed.
- Use 4K at 27 inches when text sharpness matters most.
- Choose verified color specs for creative work.
Start with desk distance, then choose the lowest resolution that still looks sharp on macOS. For most buyers that means 27-inch 4K. If the budget is tighter, 24-inch or 27-inch 1440p is the next sensible step. After that, check USB-C power delivery, panel type, and stand ergonomics before paying for extras.
Step 1: match resolution to size
At 24 inches, 1440p is a very reasonable target. At 27 inches, 4K is the cleanest value target. At 32 inches, 4K becomes more important because lower resolutions can start to look coarse from normal desk distance. That is the core decision tree for MacBook buyers.
Step 2: decide how much USB-C matters
If you want one cable for display and charging, USB-C should be high on the list. If the monitor will stay on a desk and the MacBook charger can remain connected separately, you can save money by choosing a model without full USB-C docking. Just do not confuse basic compatibility with a pleasant daily setup.
Step 3: treat color and ergonomics as filters
Office and school users can accept modest color performance if the screen is sharp and comfortable. Creators should require stronger sRGB coverage and, if needed, AdobeRGB coverage plus calibration verification. A stand with tilt, height, and swivel adjustment is worth more than weak speakers or flashy HDR labels.
Frequently asked questions
What is the best budget monitor for a MacBook?
The best budget monitor for a MacBook is usually a 27-inch 4K IPS model with USB-C power delivery. That is the sweet spot for sharp macOS text, practical desk use, and simple setup. If the budget is tighter, a 24-inch 1440p display is the next safest compromise.
Do I need a USB-C monitor for my MacBook?
No, but USB-C is the easiest path because it can carry video and charging over one cable. If you buy a monitor without it, you may need an adapter or a separate charger. Also check power delivery wattage, because not every USB-C monitor charges every MacBook well.
Is 4K worth it for a budget MacBook monitor?
Yes, for most buyers it is worth it, especially at 27 inches. It costs more than lower resolutions, but the daily readability usually justifies the jump.
What budget monitor works best with MacBook Air?
A MacBook Air usually pairs well with a 24-inch 1440p monitor or a 27-inch 4K monitor if the budget allows it. iMore’s best budget MacBook Air monitor is the Philips 32E1N3600LA, which iMore says is QHD instead of 4K, showing that Air buyers can accept a sensible compromise.
What budget monitor works best with MacBook Pro?
A MacBook Pro benefits from the same core choices, but stronger USB-C charging and better color accuracy matter more if the laptop stays docked for work. A 27-inch 4K USB-C monitor is still the best value starting point, and Thunderbolt becomes more attractive as the budget rises.